Your Home. Happier.
Finding the right contractor is fast, easy and free!
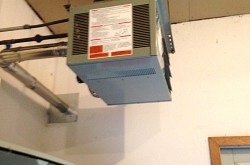
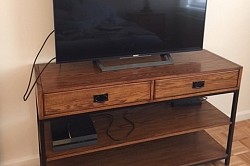
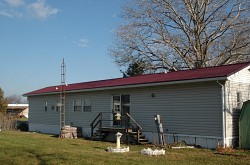
Our Top Projects
Our Projects
-


That Networx website was very handy. I’m glad that I came across the site and got the link to my pro because their work was really, really good. It sure is a lot better than the old days when you just had to get word of mouth from a friend down the street.
-

What I liked about Networx is somebody called for a follow-up to see if a roofer had gotten in touch with me yet. That was really nice and helped ease our minds.
-

Networx gave me great service. I spoke with a rep who was so nice and courteous. She asked me a couple of questions to get the feel of what I needed and within less than an hour, I heard from the pro.

Our mission is to help contractors win more jobs.
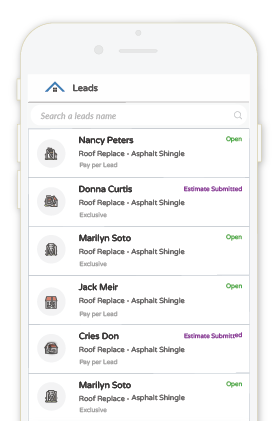
Are you a Pro?
Get real-time updates about local jobs for home improvement professionals.
Discover how Networx can help your business grow, as it has for many successful local contractors.